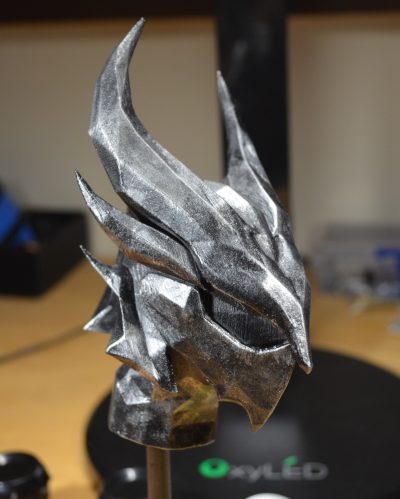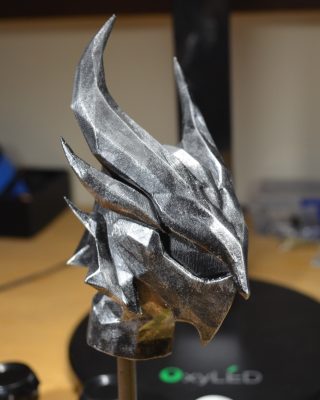
Daedric Helmet
Designed by Art Lab 3D Printing
Materials
Plastic Glue (Hangar 18 Hobbies 1/2oz Cyanoacrylate)
Filler Primer (Dupli-Color Gray)
Wood Filler (Elmers)
1000 Grit Sandpaper
Black Spray Paint
Boltgun Metal Acrylic Paint (Discontinued; Alternative)
Step 1: Intial Print
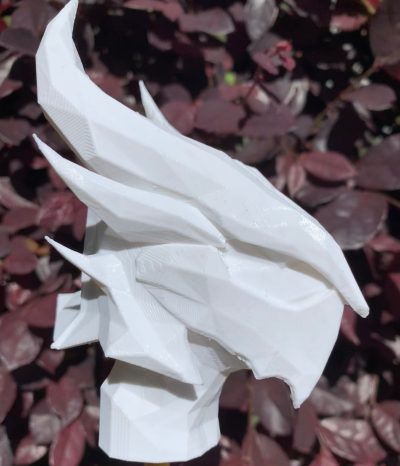
This was printed in halves, then glued using plastic glue (Cyanoacrylate). It sets very quickly, so make sure to align correctly and efficiently. I speak from experience 🙂
Step 2: Primer Filler
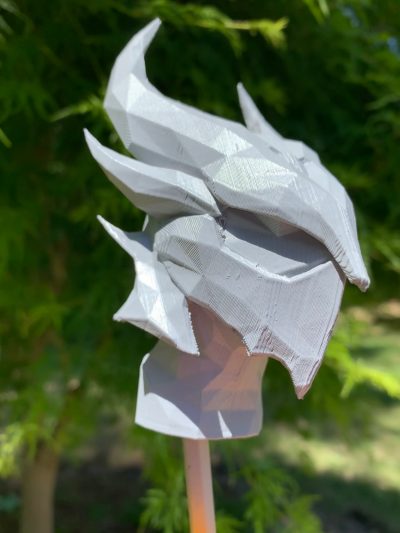
Step 3: Wood Filler & Sanding
In this step you can spend as much or as little time as you want. The more time you spend the less signs of 3D printing will be visible. But be careful not to remove too much detailing. This will vary per print.
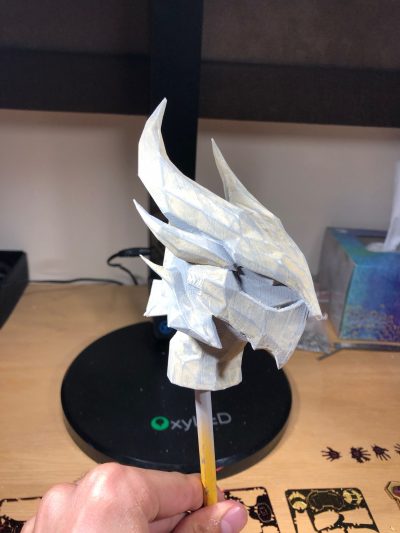
Step 4: Undercoat
Basic black spray paint.
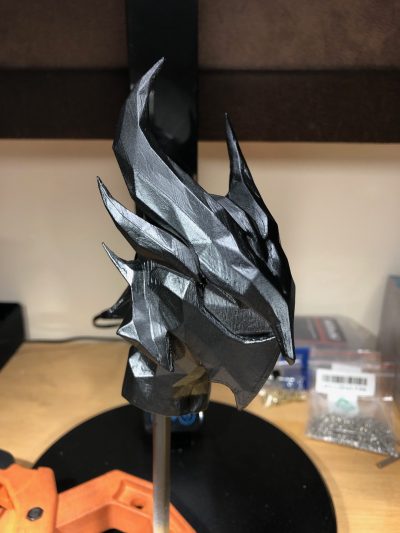
Step 5: Overcoat
Boltgun metal acrylic paint, using a sponge brush to apply. Citadel Colour has discontinued this paint, Vallejo offers an alternative (link).
This is my first time going through this process of painting a printed. Hope this is helpful.
